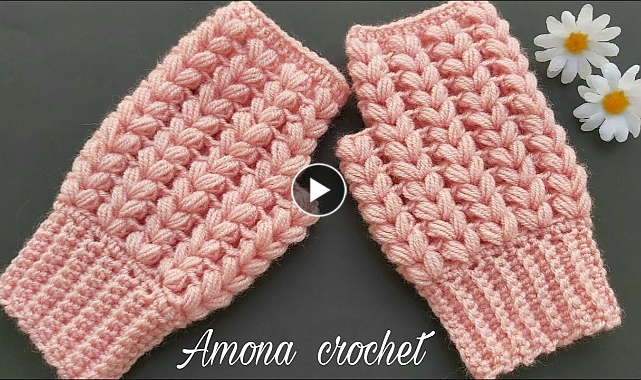
Creating crochet fingerless gloves is a fun and practical project. These gloves keep your hands warm while allowing your fingers to remain free for tasks like texting or typing. Here's a basic tutorial on how to crochet fingerless gloves:Materials You Will Need:
- Worsted weight or any preferred yarn.
- Crochet hook size appropriate for your yarn (usually G-6 to H-8).
- Yarn needle for weaving in ends.
- Begin by making a foundation chain that is long enough to fit comfortably around your palm. You can start with a multiple of 4 or 5 stitches, depending on the stitch pattern you choose.
- Join the last chain with the first chain to form a ring, making sure not to twist the chain.
- Chain 1 (this does not count as a stitch throughout).
- Single crochet (sc) in each chain around the ring. Continue to single crochet for the desired cuff length, typically 1-2 inches.
- Once you have your desired cuff length, you can start working on the hand section.
- Chain 3 (counts as the first double crochet, or dc).
- Double crochet (dc) in each stitch around. You can work this in the front loops only for ribbing or both loops for a different texture.
- Continue to double crochet for the desired length, typically around 4-6 inches, depending on how far you want the gloves to go up your hand.
- Decide where you want the thumb hole to be (usually around 2-3 inches from the beginning of the hand section).
- Chain a few stitches (e.g., 6-8 stitches) to create the thumb hole. Skip these chain stitches when working back around in the next round.
- Double crochet in each stitch around until you reach the end of the round.
- Continue double crocheting in each stitch until the glove reaches your desired length for the fingers, typically 2-3 inches.
- Fasten off, leaving a long tail.
- Fold the glove in half, aligning the cuff and hand sections.
- Use the yarn tail and a yarn needle to sew the side seam, leaving a gap for your thumb.
- Weave in any loose ends.


