• About us
  • Contact We
  • Cookie Policy
  • Privacy Policy
Anasayfa
  • Recipes
  • DIY
  • Knitting
  • Crochet
  • Automotive
  • Search
A
Maximize
A
Minimize
Comments
  1. News
  2. Knitting
  3. Creating a collar using a rubber beveled crochet edge
Knitting
Yayınlanma: 02 July 2023 - 15:19

Creating a collar using a rubber beveled crochet edge

Creating a collar using a rubber beveled crochet edge

Knitting
02 July 2023 - 15:19
Comments
Print
A
Maximize
A
Minimize
Comments
Creating a collar using a rubber beveled crochet edge
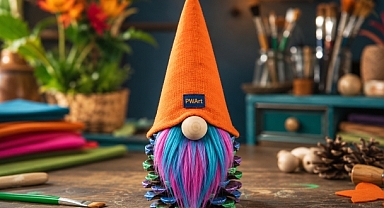
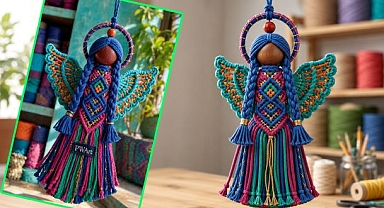
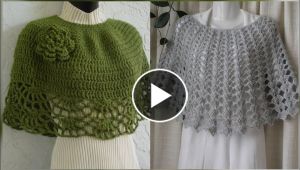
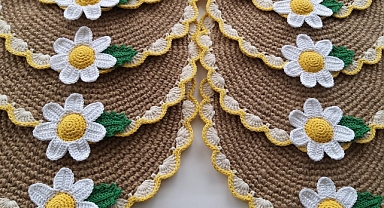
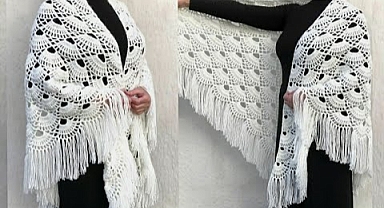
Creating a collar with a rubber beveled crochet edge can add a unique and stylish touch to your garment. Here's a general guideline on how you can achieve this technique:

Materials needed:

  1. Yarn of your choice
  2. Crochet hook appropriate for your yarn weight
  3. Rubber beveled strip or cord
Instructions:

  1. Start by crocheting the base of the collar. You can choose a stitch pattern or design that you like. For example, you can use single crochet, double crochet, or any other stitch pattern that suits your preference. The collar can be worked in rows or in the round, depending on the design you have in mind.

  2. Once the base of the collar is complete, it's time to add the rubber beveled strip or cord. This strip will create the beveled edge effect. You can find rubber beveled strips or cords in craft stores or online. Make sure to choose a width and color that complements your collar design.

  3. Attach the rubber strip to the edge of the collar using a crochet hook. Insert the hook through the edge of the collar and pull a loop of the rubber strip through. You can use a slip stitch or any other stitch that secures the rubber strip in place.

  4. Now, begin crocheting around the rubber strip. Insert the hook into the stitches of the collar and through the rubber strip, then make your crochet stitch as usual. This will encase the rubber strip within your crochet stitches.

  5. Continue crocheting around the rubber strip until you reach the desired length of the beveled edge. Adjust the tension of your stitches as needed to ensure the rubber strip remains snugly encased and the beveled effect is prominent.

  6. Once you've reached the end of the collar, finish off your work by securing the last stitch and weaving in any loose ends.

Remember to practice and experiment with different techniques to achieve the desired effect. This guideline provides a general idea, but the specific details may vary depending on the pattern you're working with and the materials you choose.

  • COMMENTS
Reply this user x
These news may also interest you
Crochet Amigurumi Animals | Free Pattern
How to crochet eyes for amigurumi toy
Crochet Mini Chicken Easy
Crochet Bunny
Crochet Bunny
Last News
YELLOW WOOL CROCHET SUNFLOWER WITH PLANTER ???? IDEA #CROCHET #SUNFLOWER #YELLOW WOOL AI MADE DESIGN
YELLOW WOOL CROCHET SUNFLOWER WITH PLANTER ???? IDEA #CROCHET #SUNFLOWER...
CROCHET BAG MODEL DESIGN IDEAS COLOR COMBINATION #YELLOW PURPLE WOOL #CROCHET #KNITTING AI MADE
CROCHET BAG MODEL DESIGN IDEAS COLOR COMBINATION #YELLOW PURPLE WOOL #CROCHET...
Crochet Amazing Butterfly
Cute Animal Crochet With Wool
This Crochet Pattern is So Stylish and Easy /Blouse, Tunic, Runner Tutorial
This Crochet Pattern is So Stylish and Easy /Blouse, Tunic, Runner Tutorial...
Recent Comments
Very beautiful stylish Hand-knitted Crochet caplet designs ideas
very nice supla knitting pattern
crochet shawl
crochet shawl
Crochet Summer Bag For Beginners

Home
Recipes
DIY
Knitting
Crochet
Automotive
Photo Gallery
Video Gallery
  • Rss
  • About us
  • Contact We
  • Cookie Policy
  • Privacy Policy

All rights of the articles, videos, photos and news on our site are reserved.
Cannot be used without permission or showing the source.