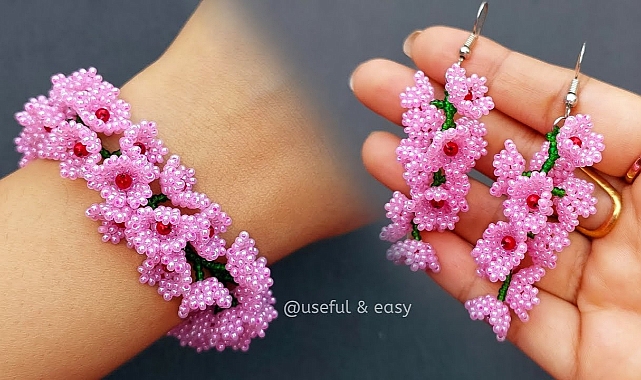
Creating cherry blossom bead jewelry, such as a bracelet and earrings, can be a delightful and straightforward project. Here's a step-by-step guide to help you make a beautiful set:Materials:
- Cherry blossom-shaped beads or bead caps
- Small round beads in complementary colors
- Jewelry wire or beading thread
- Jewelry findings (e.g., jump rings, ear wires, clasp)
- Jewelry pliers (round-nose, chain-nose, and wire cutters)
- Needle (if using beading thread)
- Scissors
- Measure your wrist and cut a piece of jewelry wire or beading thread that is slightly longer than your desired bracelet length.
- Attach a clasp to one end of the wire/thread using a jump ring.
- String your chosen small round beads onto the wire/thread until you reach your desired bracelet length (consider the size of the cherry blossom beads to determine the spacing).
- Slide a cherry blossom bead onto the wire/thread.
- Continue alternating between small round beads and cherry blossom beads until you reach the other end of the bracelet.
- Attach the other half of the clasp to the end of the wire/thread using a jump ring.
- Use pliers to secure the jump rings and trim any excess wire/thread.
- Cut a piece of jewelry wire or use a headpin for each earring.
- Slide a small round bead onto the wire/pin.
- Thread a cherry blossom bead onto the wire/pin, allowing it to sit on top of the round bead.
- Create a loop at the top of the wire/pin using round-nose pliers.
- Attach an ear wire to the loop using chain-nose pliers.
- Repeat the process to make the second earring.
- Use pliers to open and close jump rings, attaching the bracelet clasp and earring components as needed.
- Trim any excess wire/thread and ensure all connections are secure.
- Give your jewelry a final inspection to ensure everything is in place and well-finished.




No lo he recibido
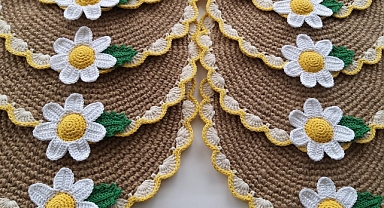
Hola Por favor las carpetas redondas blancas con amarillo y rosa q estás en el reel de facebook el paso a paso por favor y gracias ????